Check out our madison park pool cabana portfolio page
Original Title: Outdoor Oasis: Pool and Cabana Project in Madison Valley
Original Author: Laura Grange
Originally Posted on: January 8th, 2019
Photos, videos, and information contributed by project’s site lead Will Smithson.
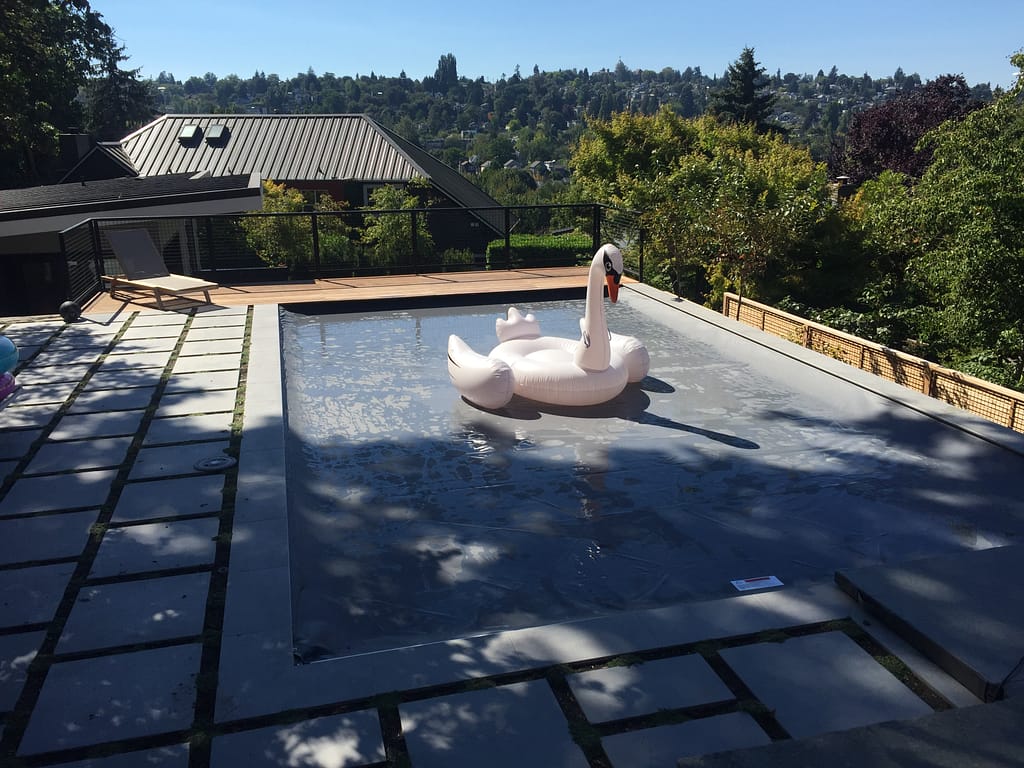
We recently wrapped up a new pool and cabana project for a home in Madison Valley, and with the temperatures what they have been we’re sure the new pool is getting plenty of use!
Below you can see the amazing transformation of the large backyard on a critical slope:

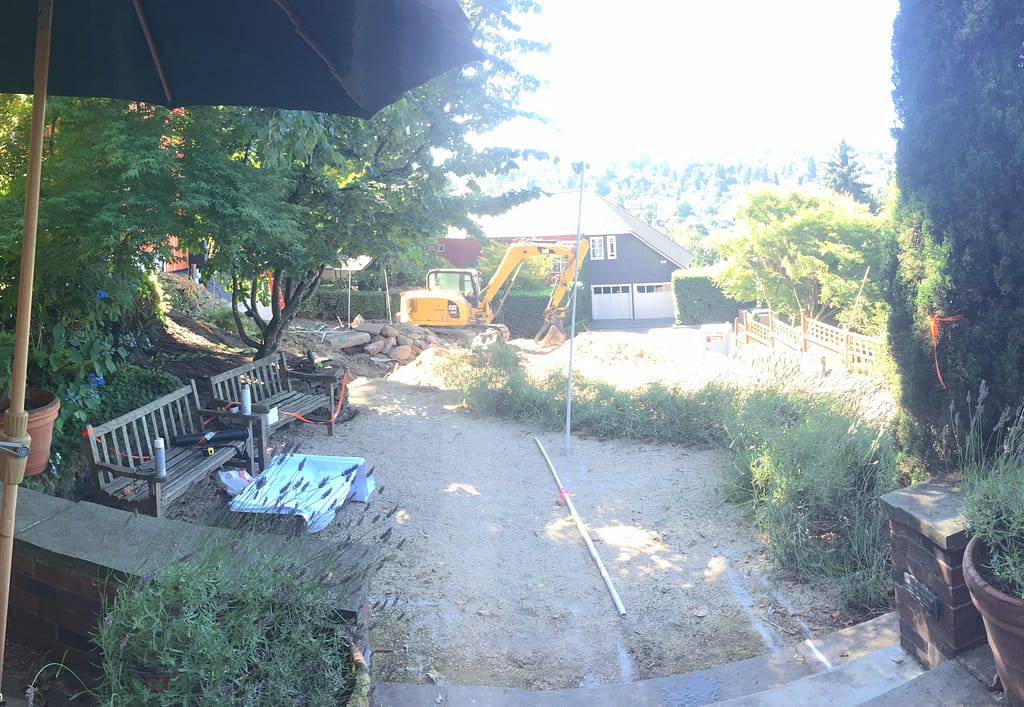
This outdoor construction project had many stages, starting with preparing the site for the new structures.
Preparing the Site
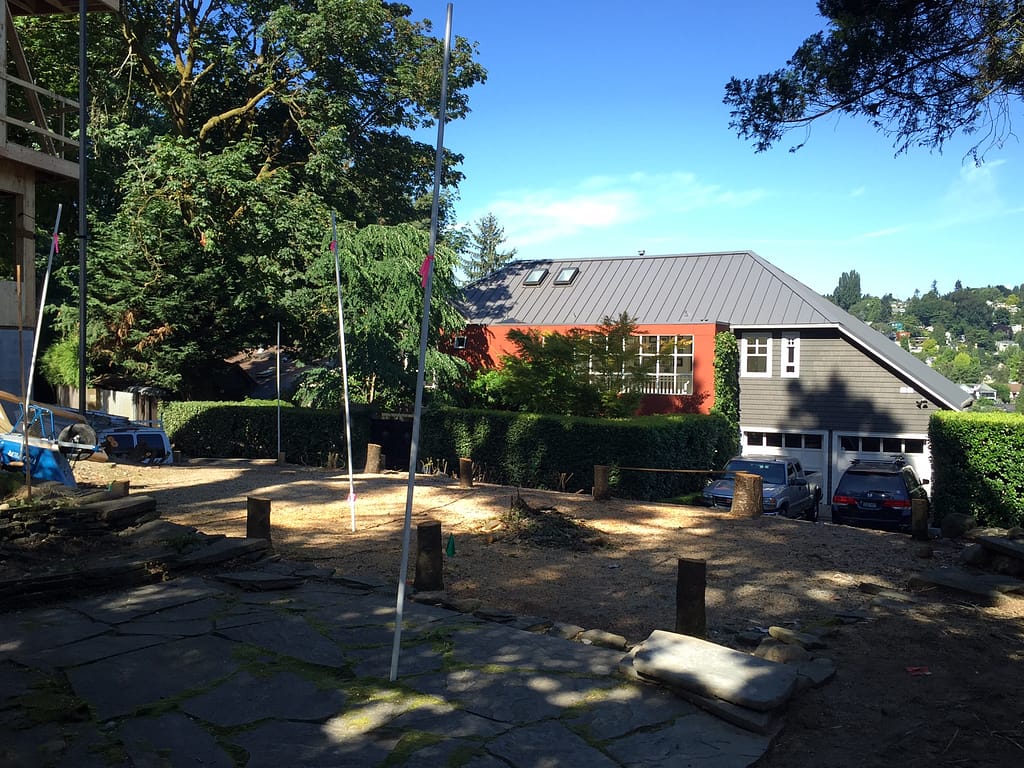
The backyard is on a slope with many mature trees and other greenery. Due to this slope the area didn’t get much use, as lovely as it was. The team cleared the landscape to make room for the new cabana, pool, and patio.
While some of the trees unfortunately had to be removed permanently, an “exceptional tree” remained. We transplanted four other mature trees during the project. They were incorporated in the design and brought back during the landscape phase.
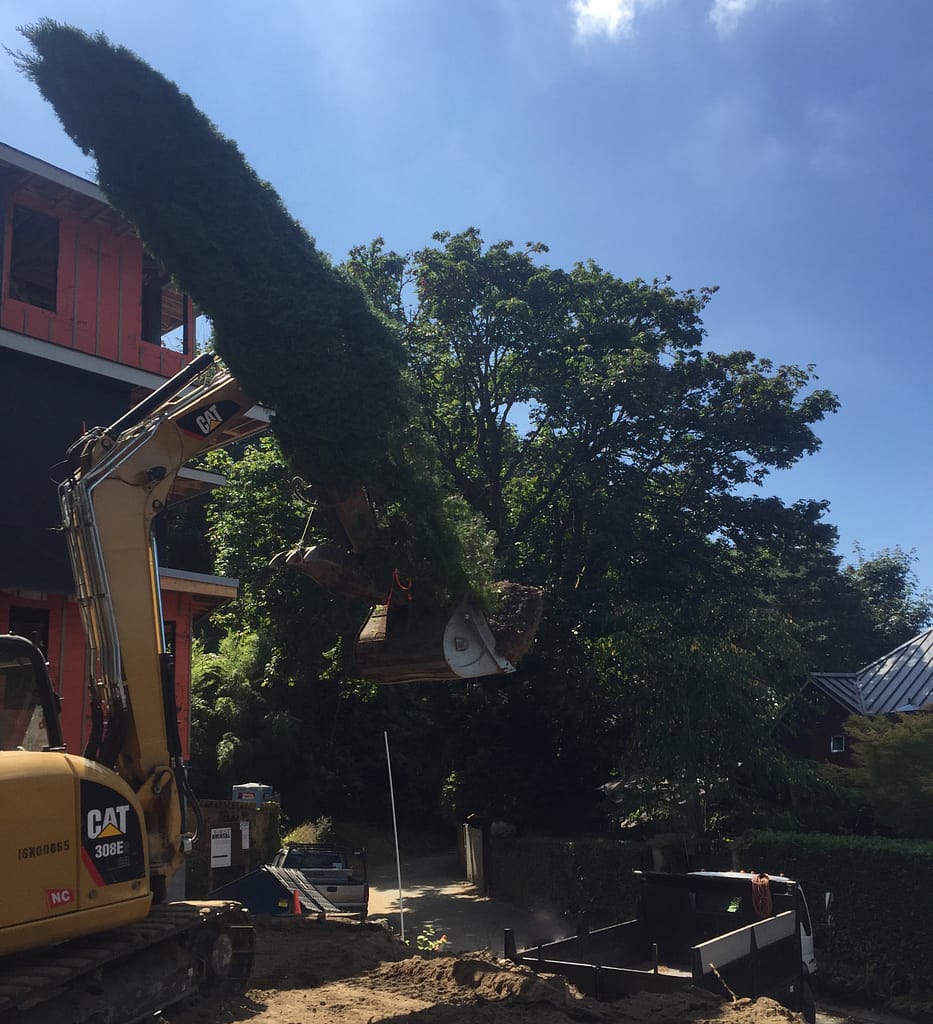
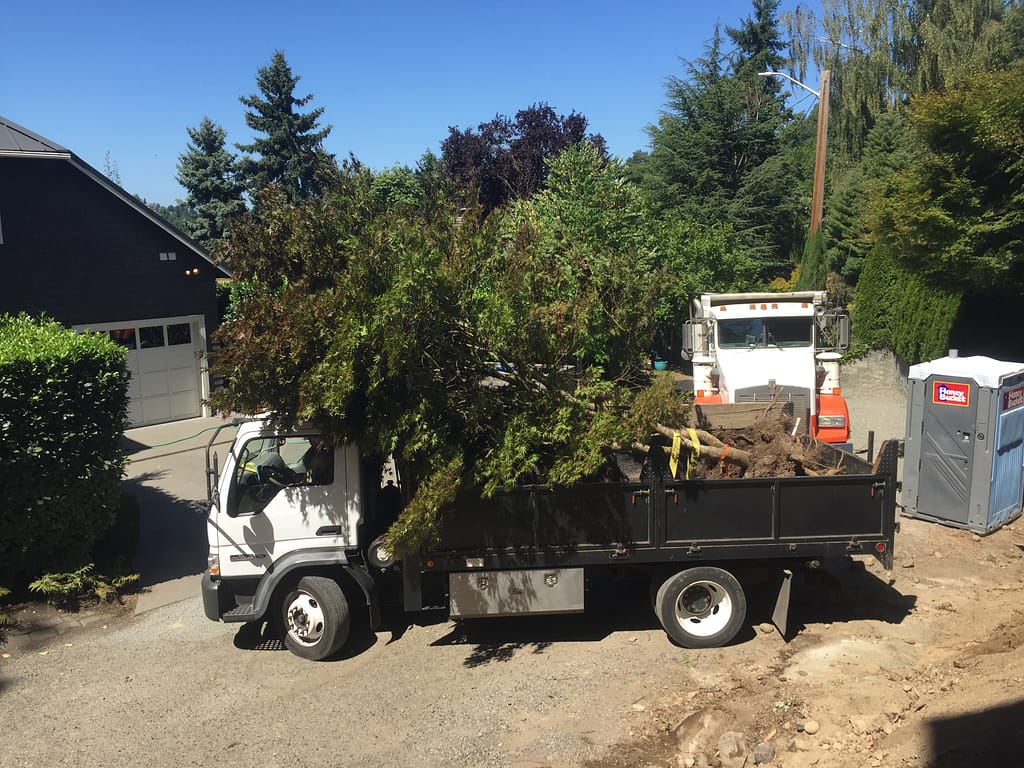
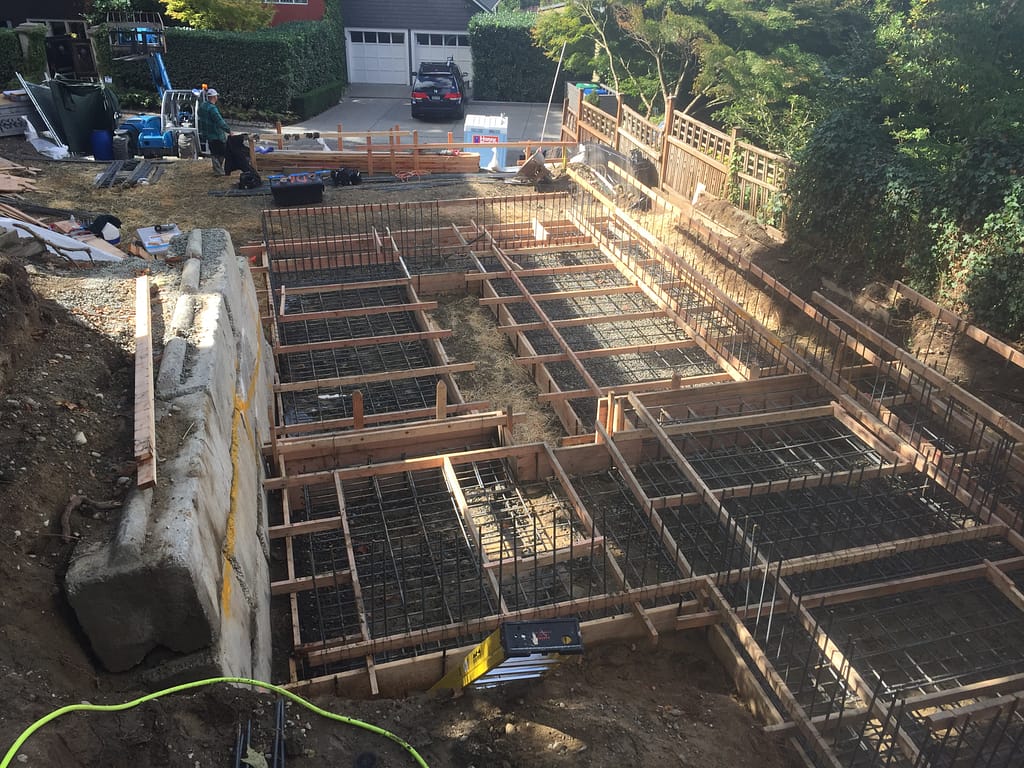
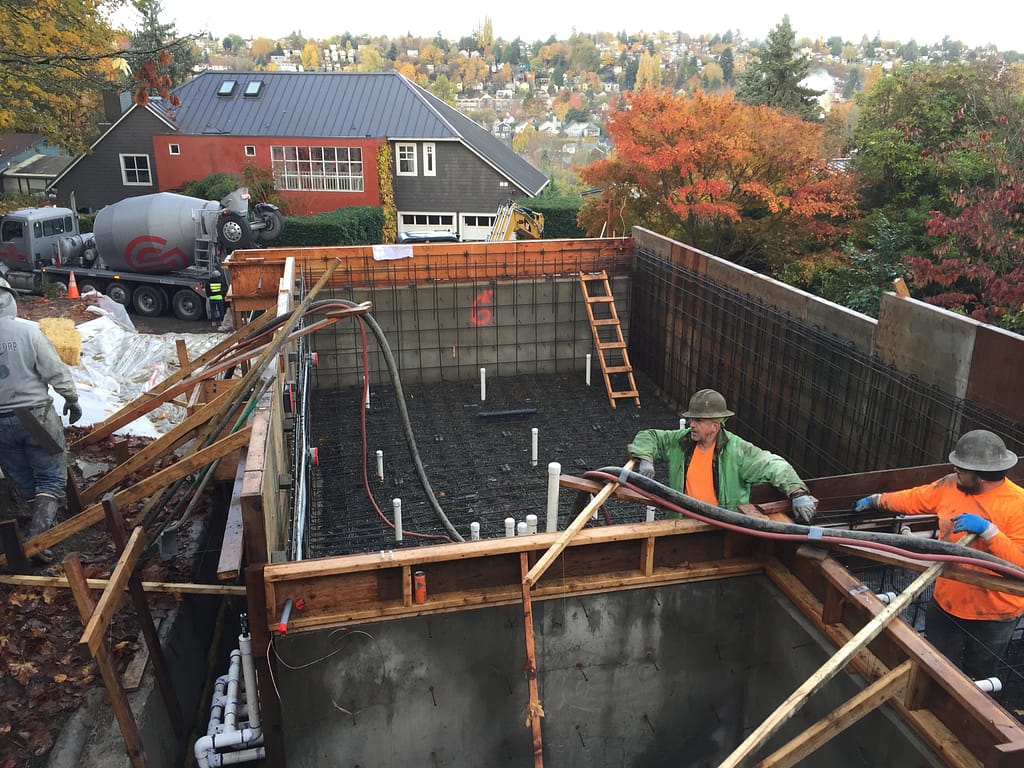
After the site was cleared of trees, the team started excavation for pool and retaining wall footings. We dug down deep to find geotech-approved bearing soil. We removed over 150 yards of earth over the course of the project. Over 200 yards of free draining gravel was brought in as fill.
Forms were built for footings for the future pool, here they are waiting for concrete:
The video clip below shows the team filling the pool wall footing forms:
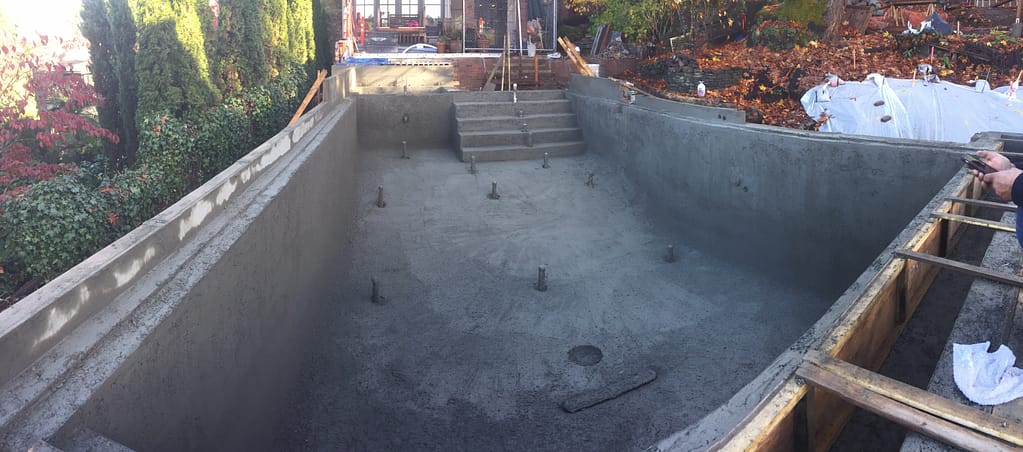
Gravel was then shot with a cad truck to bring us up to the bottom of the pool:
Watch this clip of schotcrete being applied to the wall forms:
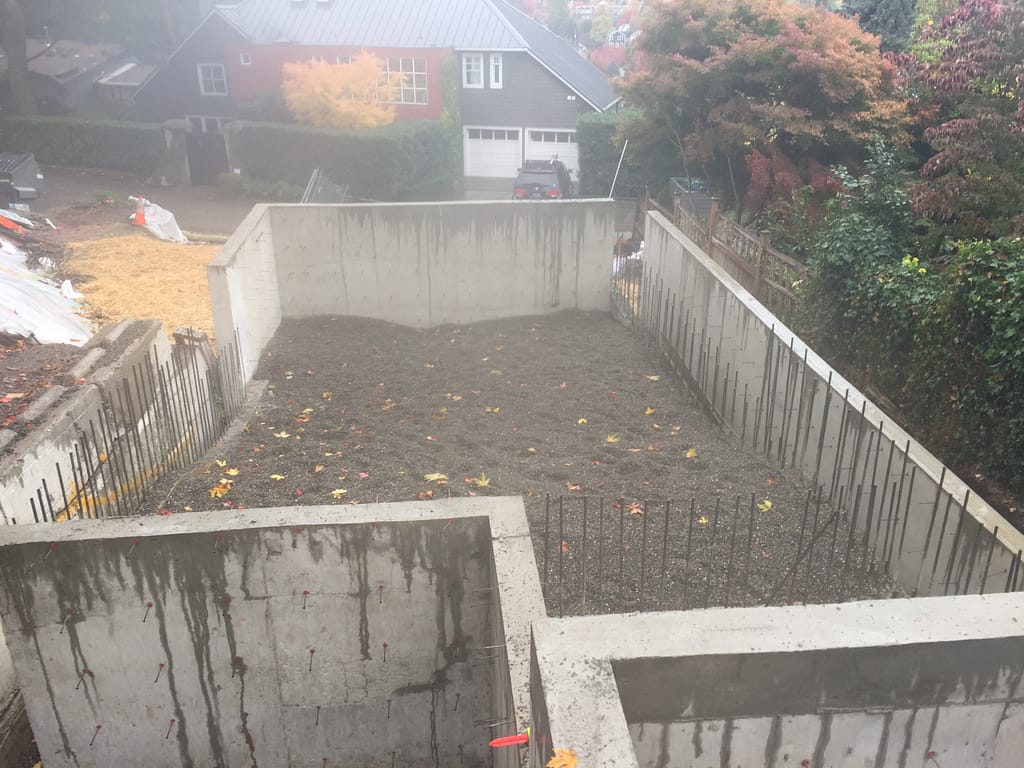
Shotcrete complete, with forms still in place:
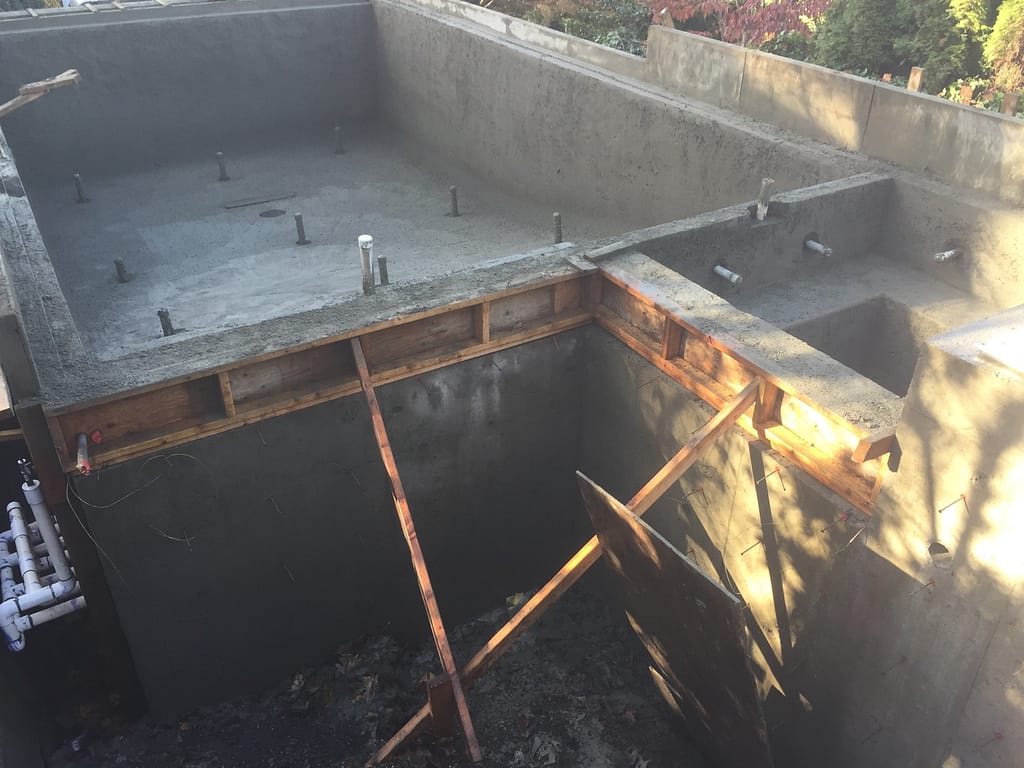
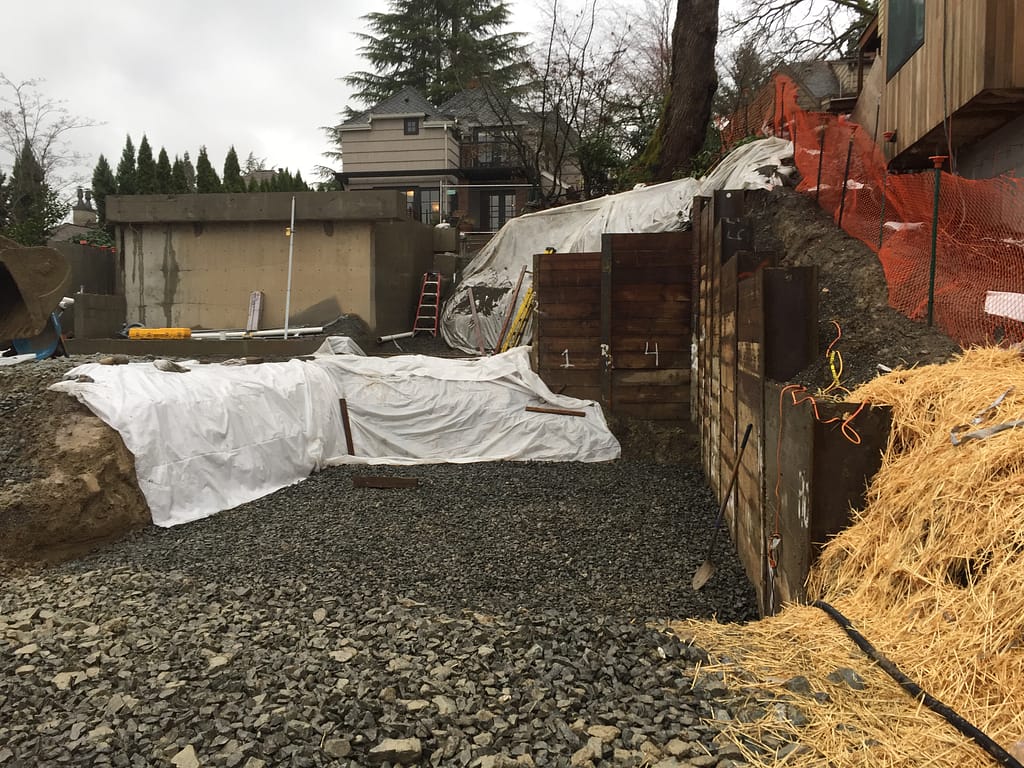
Shoring wall installation allowed us to dig to the depth we needed for garage footings. Below is a video of an auger drilling holes for pilings:
Cabana
With the shoring wall installed, the team began excavation for the garage and cabana.
The team built the cabana structure – concrete garage on the bottom and wood framed cabana on the top.Ultra blocks were installed to raise the cabana’s yard as high as possible. The exceptional tree, covered in moss, can be seen in the background.
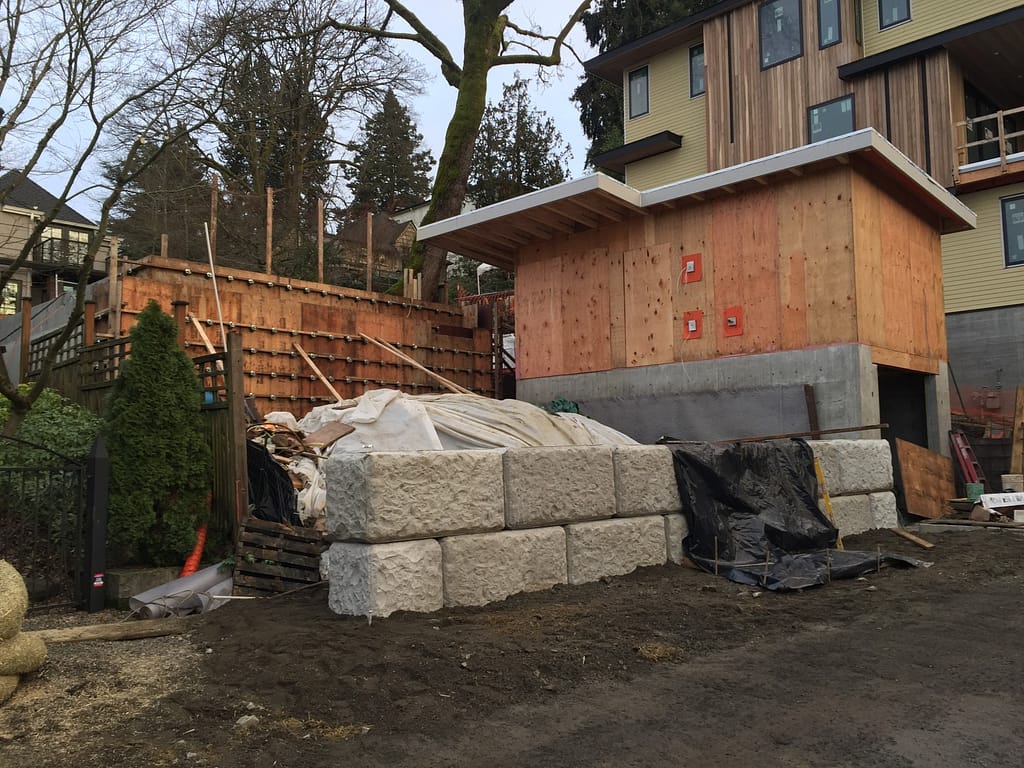
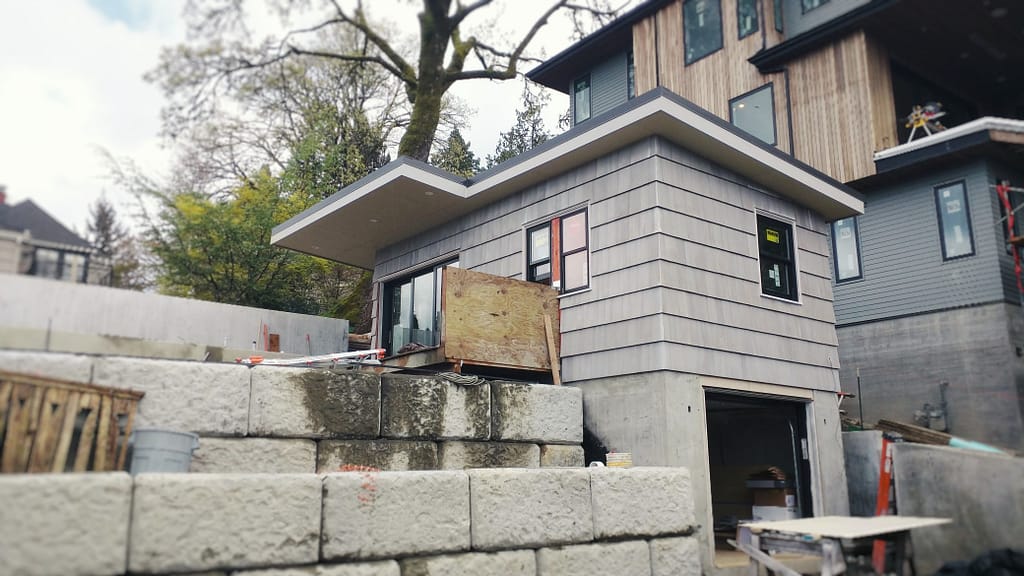
The team then installed windows and siding (double course cedar with 14″ reveal and grooved face to mimic existing house) on the cabana. Note the completed ultra block wall. In the background you’ll also see the finished concrete pool patio retaining and planter walls.
They then stained the retaining wall and built an accent wall off the deck.

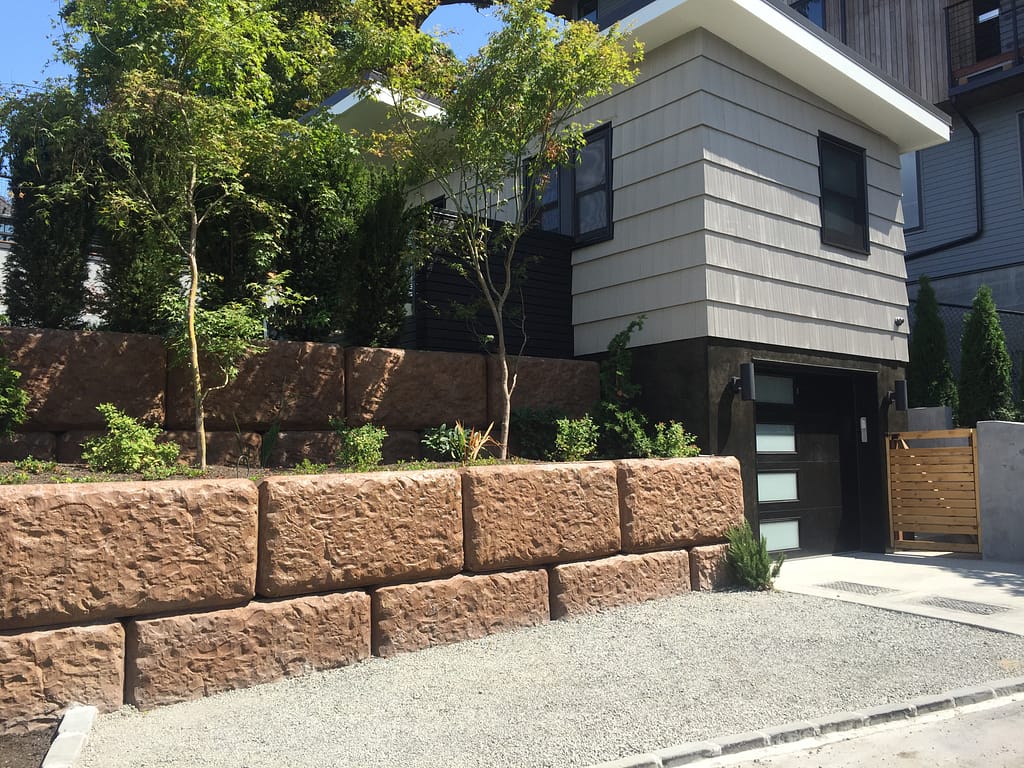
Here’s the cabana complete – siding painted, concrete and block walls stained, and landscaping returned and flourishing:
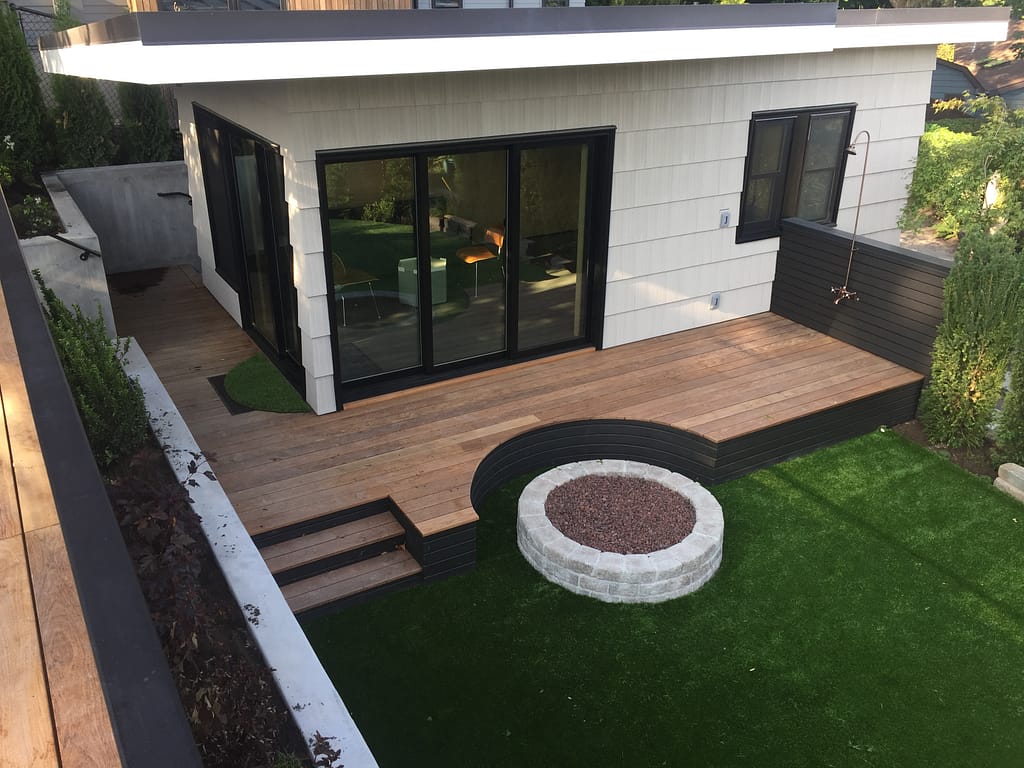
The retaining walls allowed the team to work on the cabana’s deck and fire pit. Below you can see the beautiful curved skirt installation progress. This was achieved by a site-built steam bending contraption.

After adding some turf and staining the skirt we have our final result:
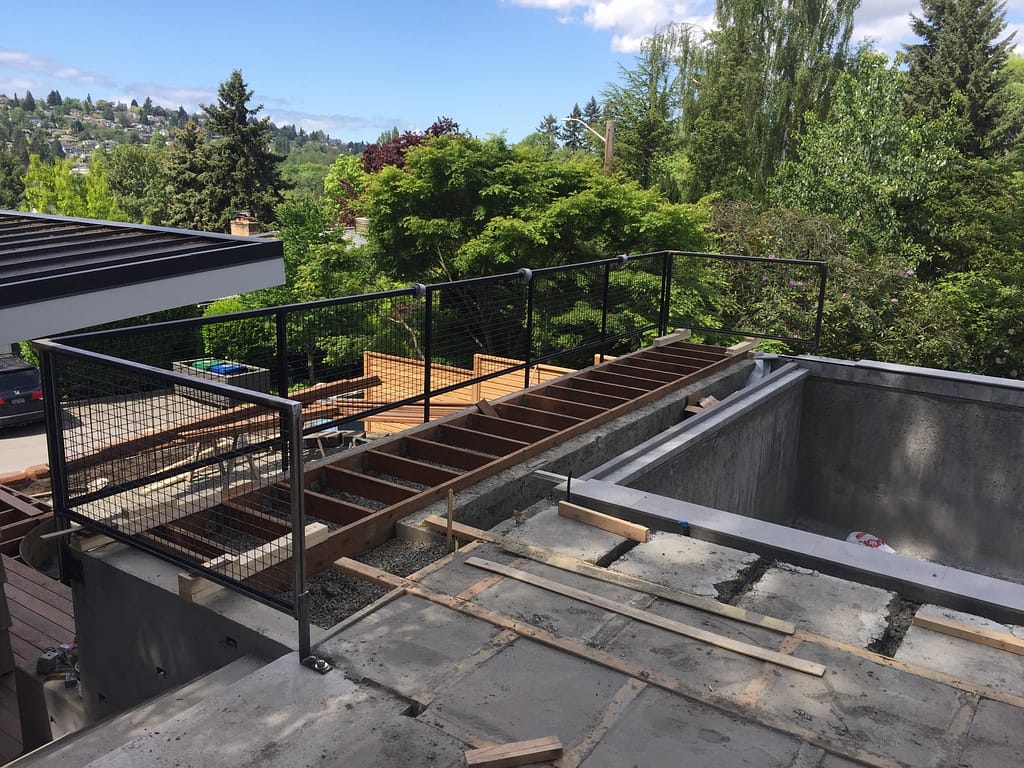
Safety rail is up, pool coping is installed, and deck and pavers are in process:
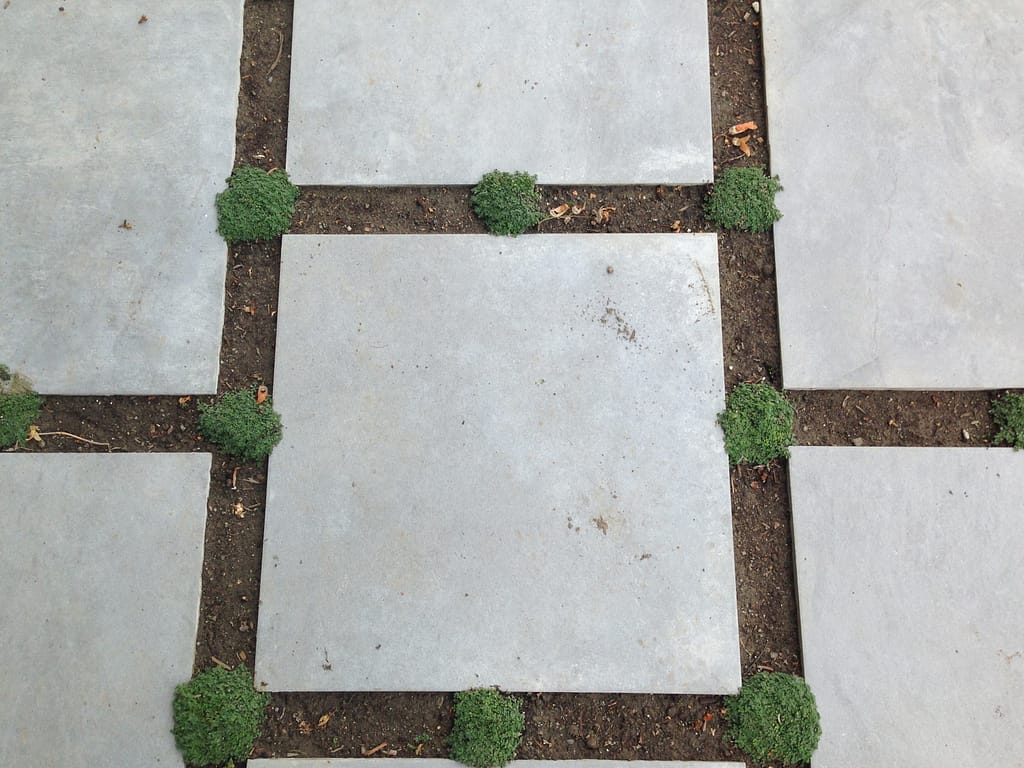
The team planted thyme between the pavers. This will eventually fill in and be a solid ground cover to soften the hardscape.
The team also expanded the upper patio by five and a half feet and created an outdoor fireplace/grill area on one side.
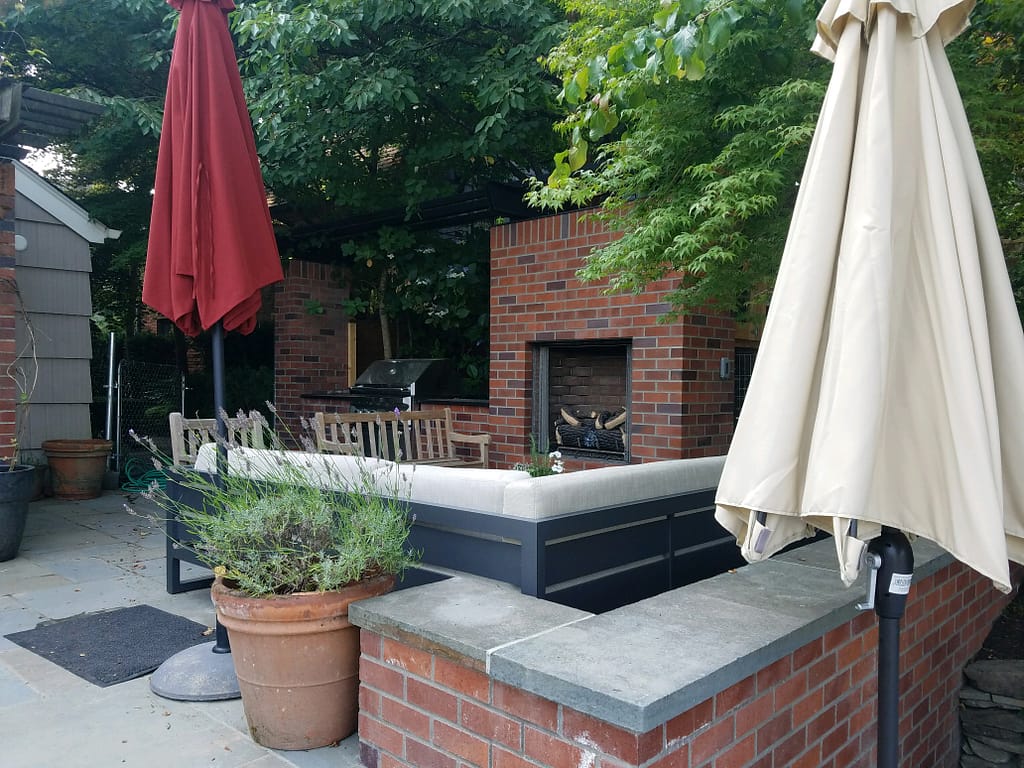
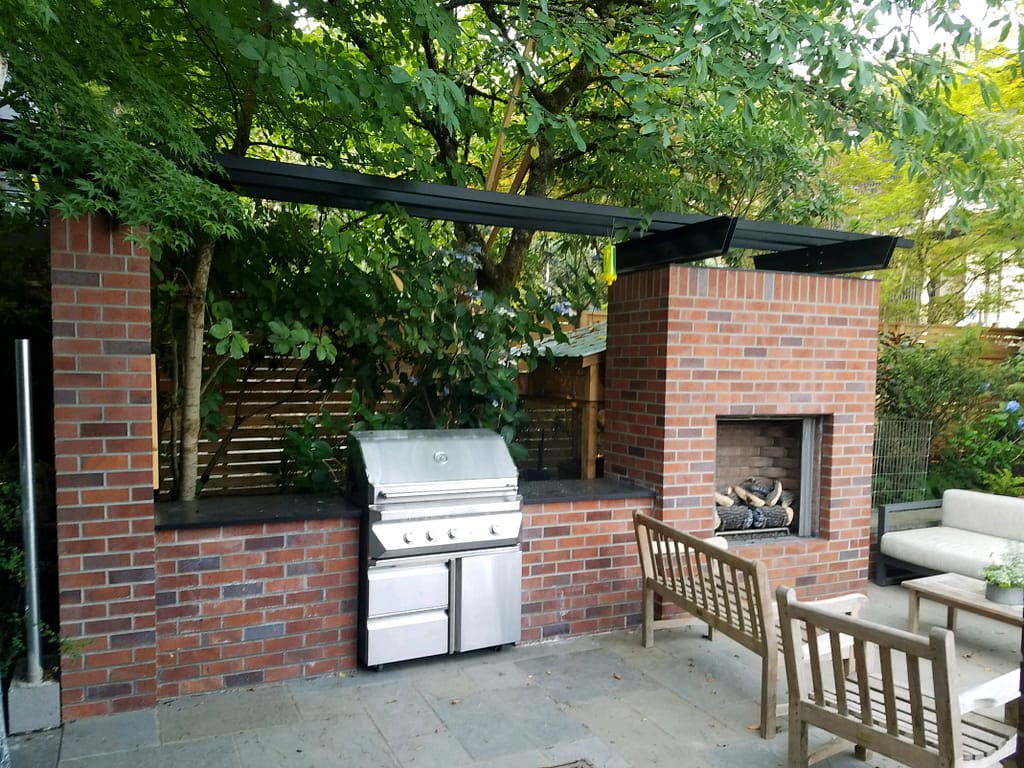
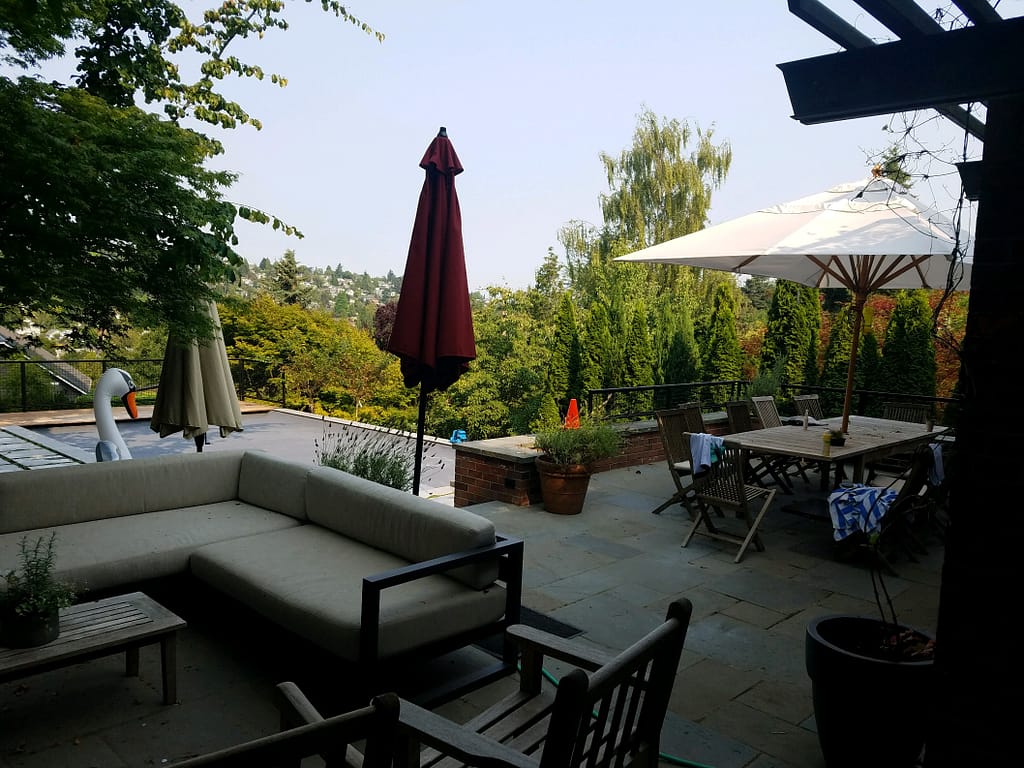
We’re really happy with how this complex project turned out – the clients now have a backyard they can make the most of and enjoy with their family and friends.
Check out our madison park pool cabana portfolio page