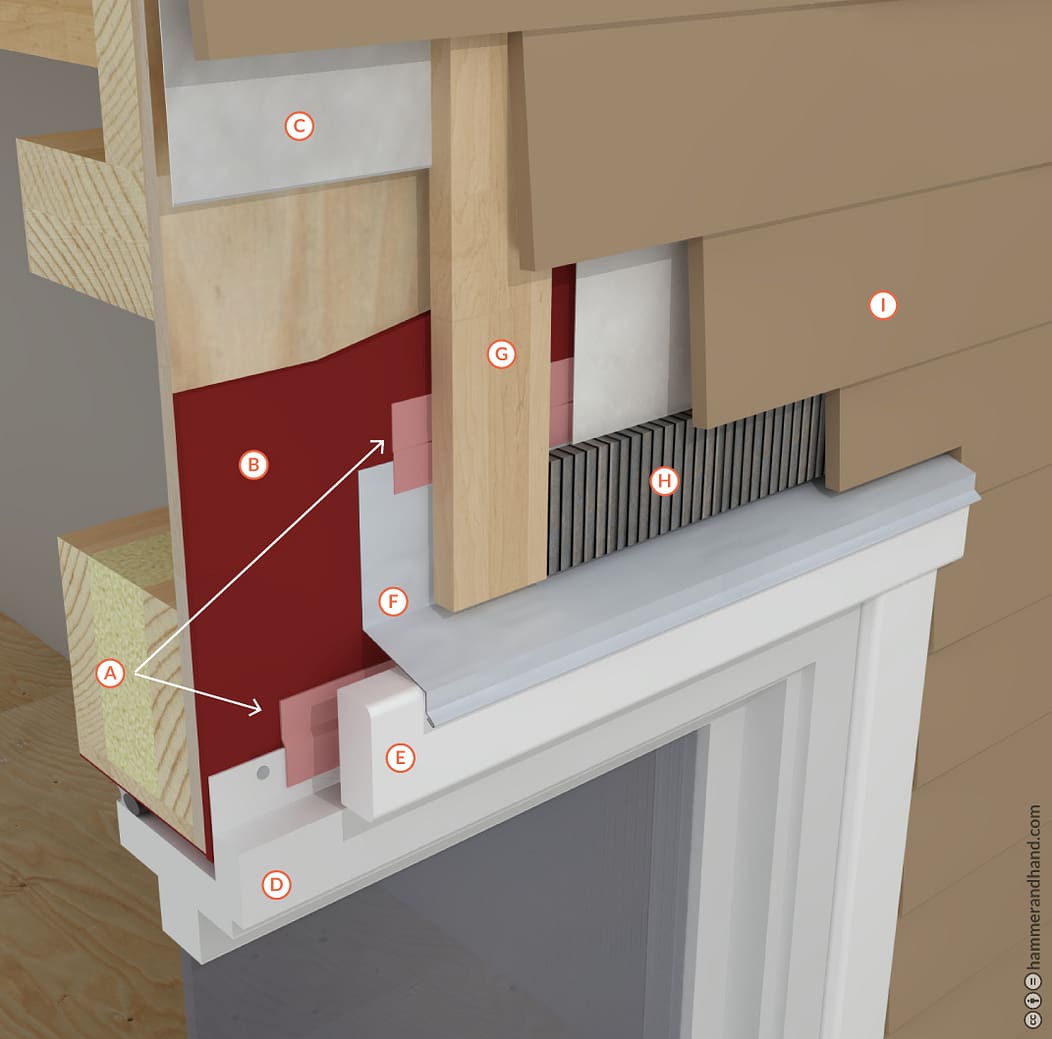
A. JOINT & SEAM FILLER
B. FASTFLASH
C. WRB (WATER-RESISTIVE BARRIER)
D. INSTALLED WINDOW
E. TRIM
B. FASTFLASH
C. WRB (WATER-RESISTIVE BARRIER)
D. INSTALLED WINDOW
E. TRIM
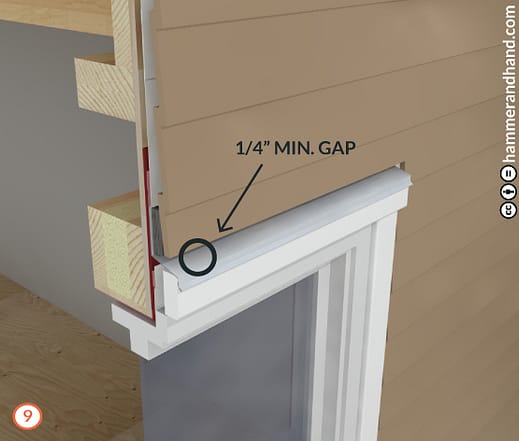
F. HEAD FLASHING
G. FURRING
H. COR-A-VENT SV-5
I. CLADDING
G. FURRING
H. COR-A-VENT SV-5
I. CLADDING
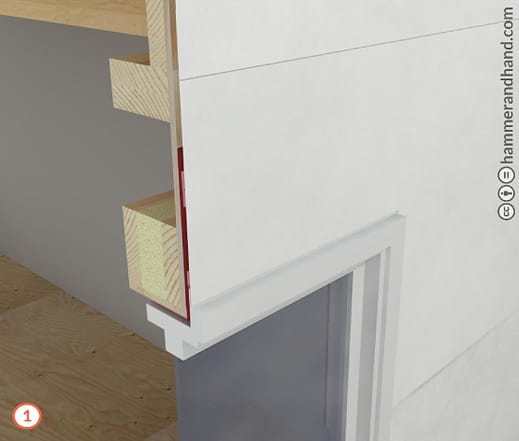
- Layer on WRB. Layer in a shingle method starting at the bottom and lapping top over bottom piece.
- Install vertical furring to correspond with the framing method (aligned with vertical framing members).
- Use untreated 1×4 furring.
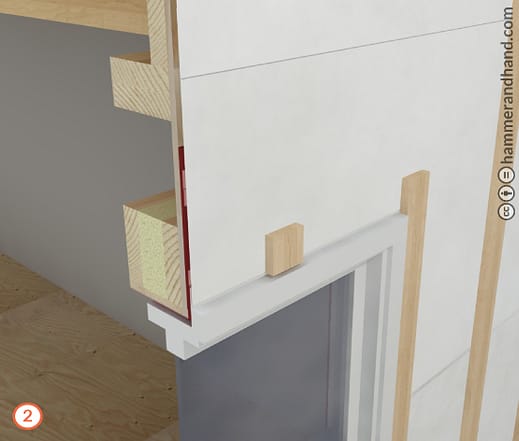
- Install trim.
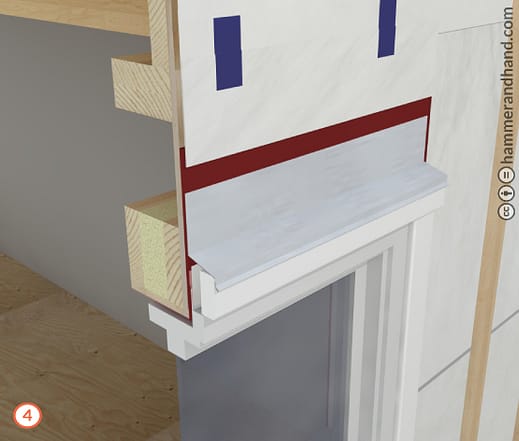
- Cut a slit in the WRB, fold up, and use tape to hold the flap out of the way while the head flashing is installed.
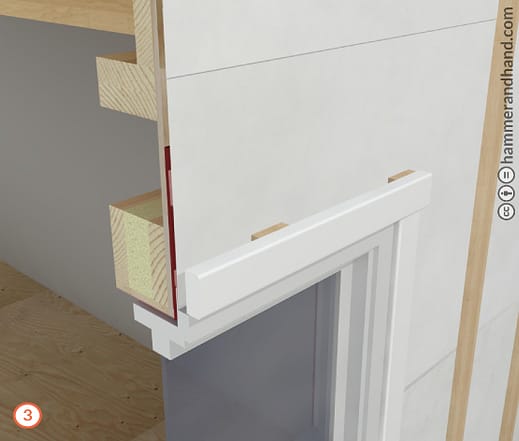
- Attach head flashing.
- Apply Joint & Seam Filler to the top of the back leg of the head flashing.
- Tool Joint & Seam Filler into place.
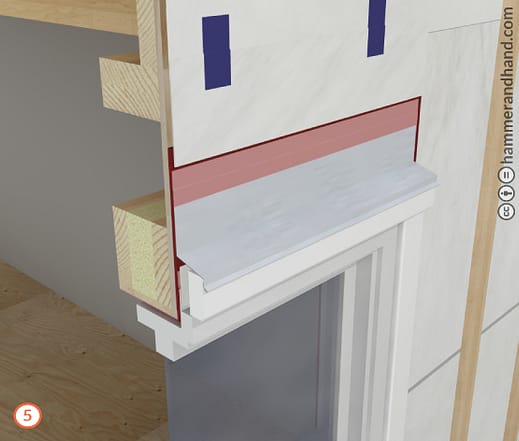
- Fold WRB flap back down and tape the slit to prevent water intrusion.
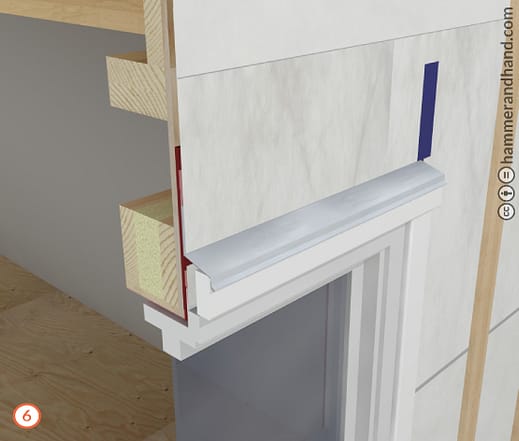
- Attach remaining rain screen furring above head flashing.
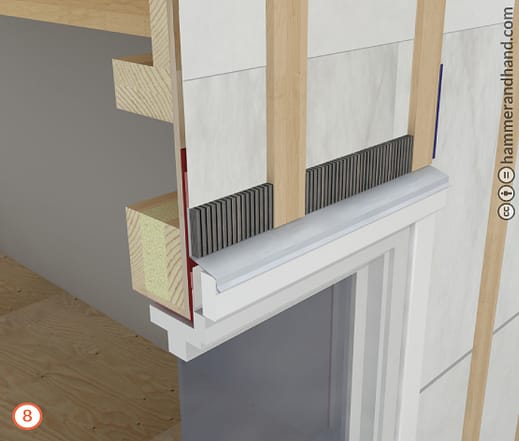
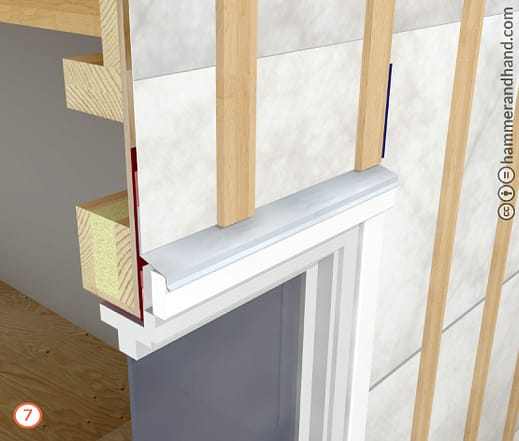
- Install Cor-A-Vent above the window.
- Complete rain screen by installing siding.