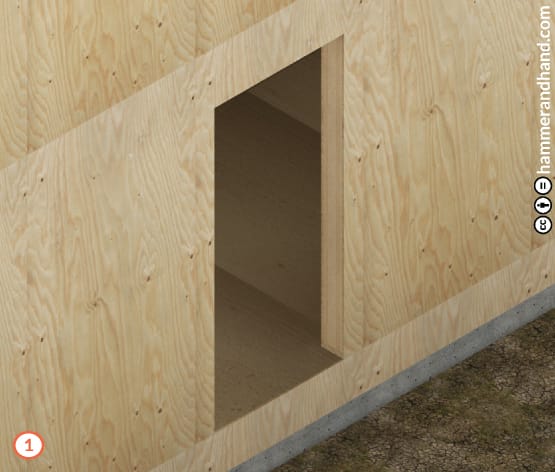
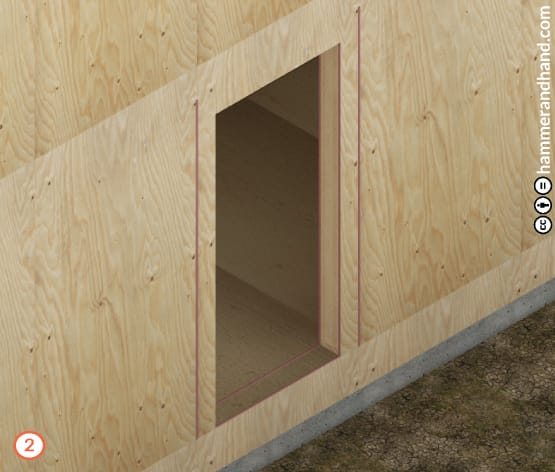
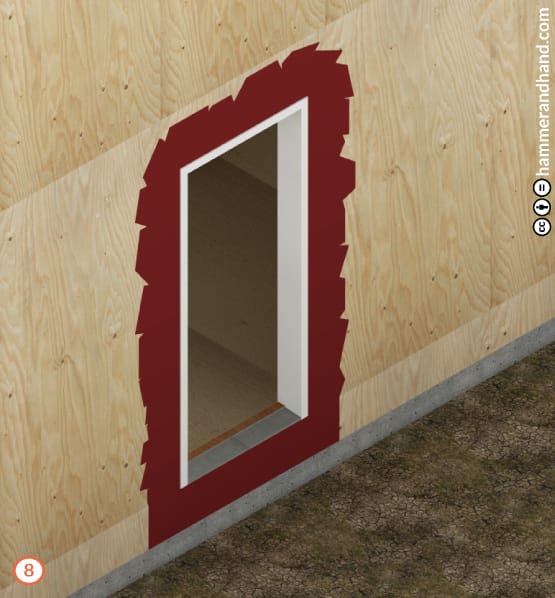
- Router the RO to make clean edges for applying liquid flashing.
- Pass over outer edges with sand paper to get rid of any inconsistencies.
- ROs should be 1” larger than door width dimensions and 1/2” larger than height.
- Make sure sill is flat and level.
- Make sure opening is square and plumb.
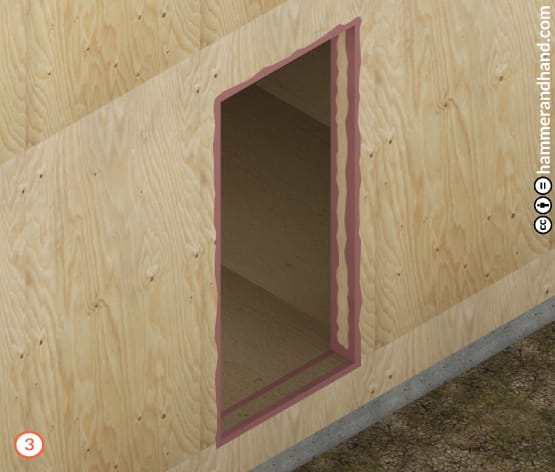
- Apply Joint & Seam Filler to all joints to be covered in FastFlash.
- Ensure that all nails are set, apply Joint & Seam Filler and tool into place.
- Tool Joint & Seam Filler.
L-Metal Installation
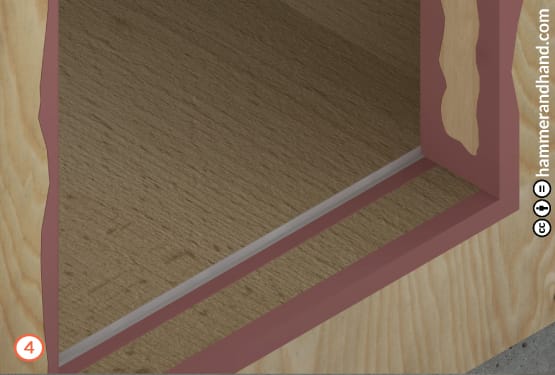
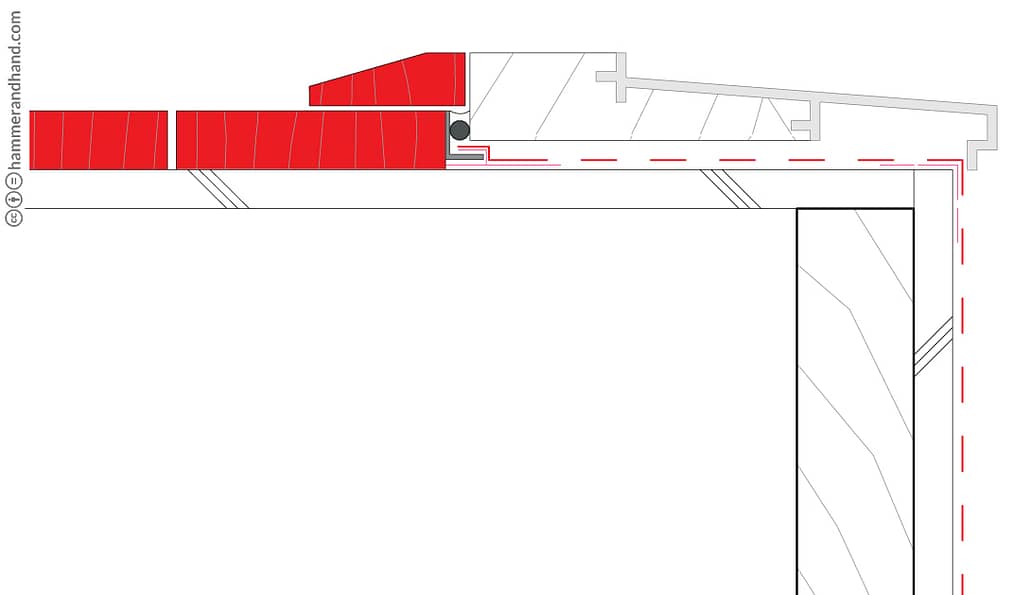
- Set L-Metal into bed of Joint & Seam Filler.
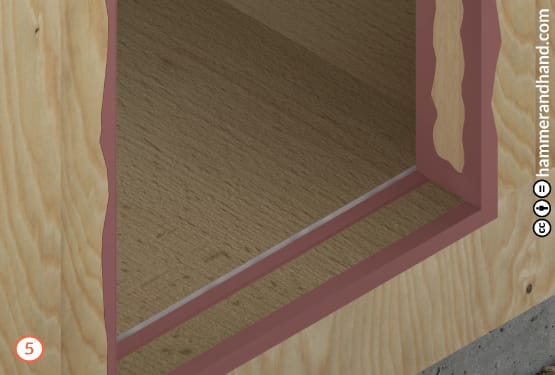
- Apply another bed of Joint & Seam Filler over L-Metal to form a continuous barrier.
Applying FastFlash
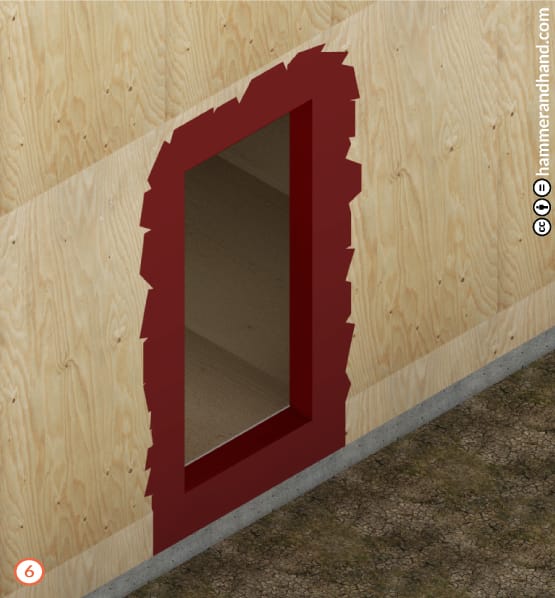
- Apply FastFlash to sill, extending 9” out from the RO to either side.
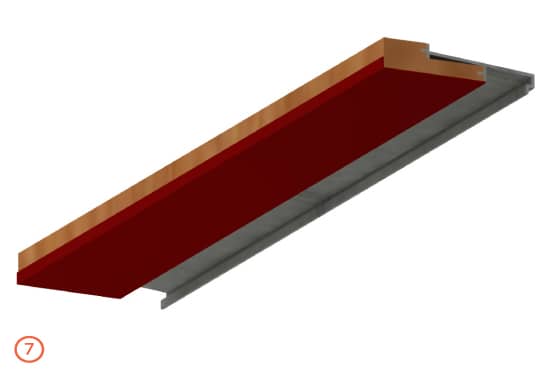
- When installing a wood door threshold, coat the bottom of the threshold with FastFlash. Alternatively, the height of the rough opening can be sized slightly larger and composite shims can be used to elevate the wood threshold off of the sill.
- Install door threshold and sill.
- Fasten accordingly to manufacturer’s specifications.
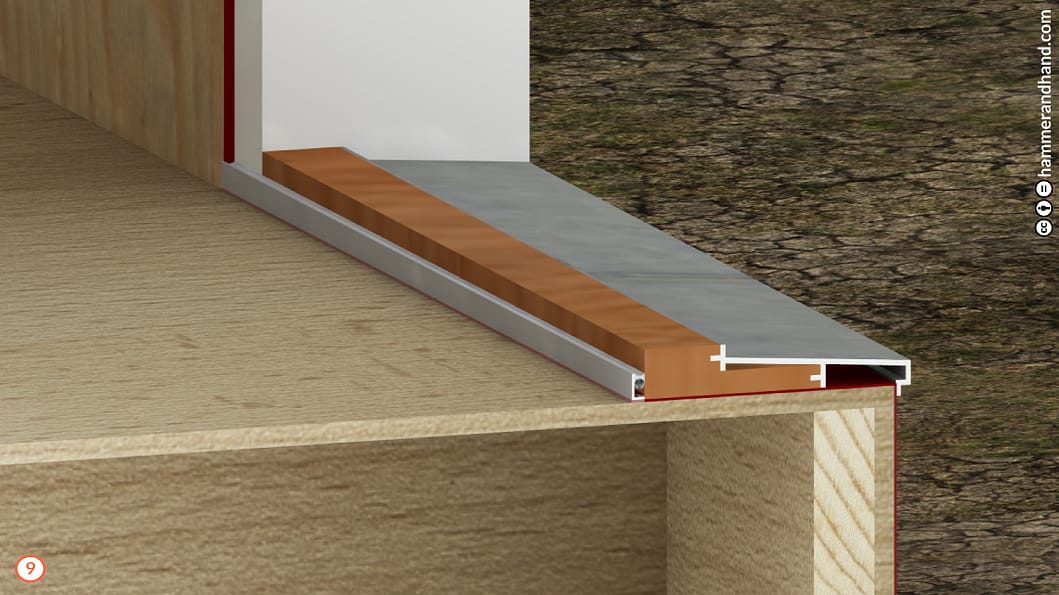
- Insert backer rod and sealant between L-Metal and door sill and tool into place.
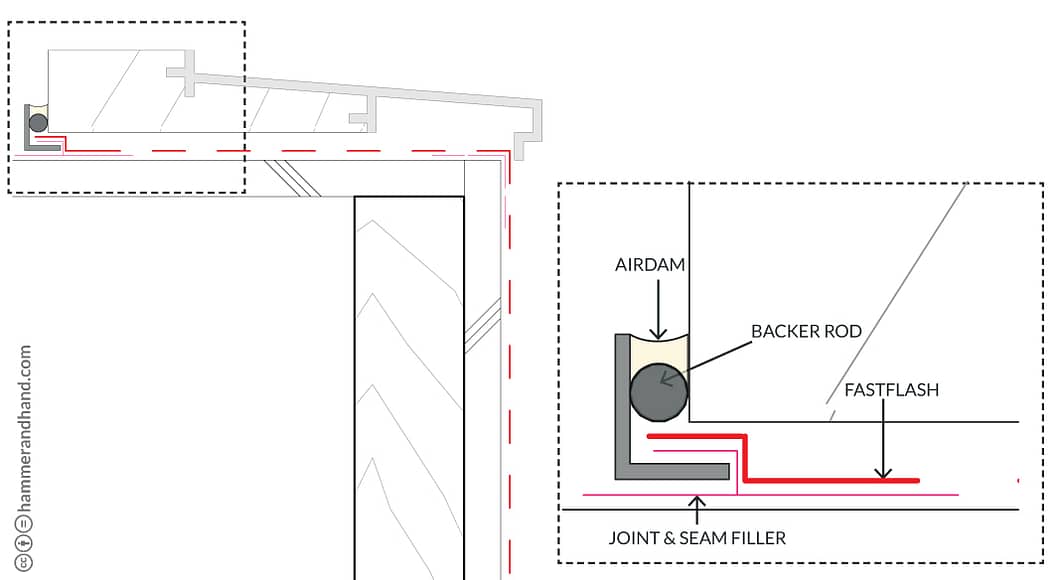
Note: If the threshold is subject to moisture, the door needs to sit on a resilient shim material.
Interior View
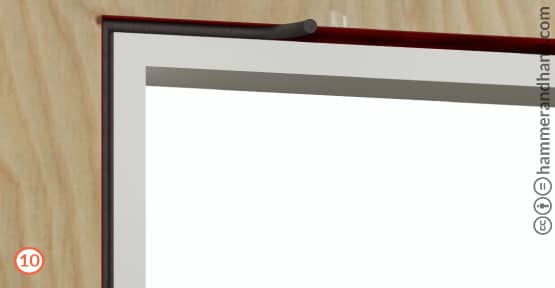
- Insert properly sized backer rod, taking care not to puncture or damage it.
- Make continuous around door frame.
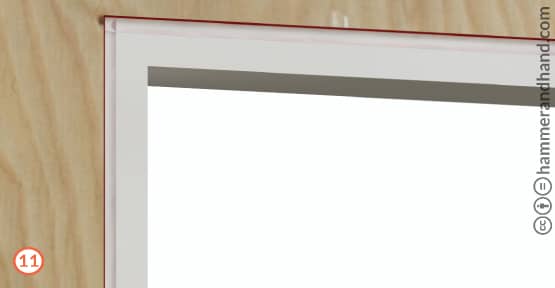
- AirDam over the backer rod and tool the joint.
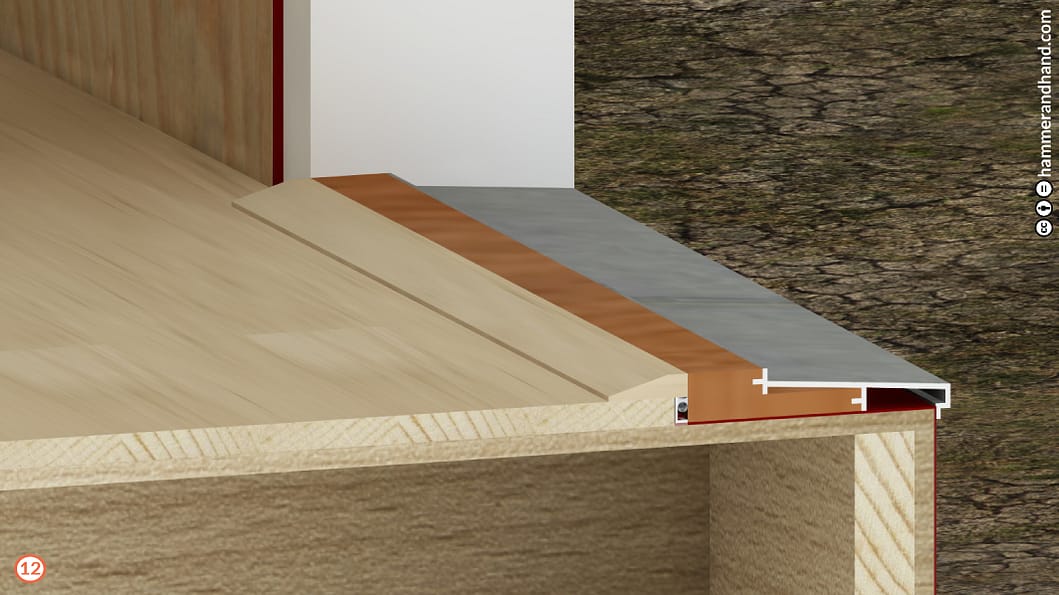
- After interior flooring is installed, finish door with trim piece to hide sealant.
