Built right, a building’s exterior wall is a comprehensive system for protecting the building from the elements and for managing heat, air, and moisture. So when we punch a hole through this system we must proceed with caution, ensuring that we maintain the integrity of the building envelope. A moisture management system is only as strong as its weakest link.
A. It is Critical That No Wall Penetrations are Overlooked
Proper planning and sequencing will ensure that every penetration is correctly detailed. The following is a list of various wall enclosure penetrations that are frequently encountered on a project:
- Electrical service and meter.
- Exterior electrical outlets and lighting.
- Telecommunications and miscellaneous low voltage (cable, phone, satellite dish mounts, etc).
- HVAC (electrical, refrigerant lines, combustion piping/flues, exhaust and intake ports, condensate drain lines, dryer exhaust vents).
- Natural gas line and meter.
- Hose bibs.
B. Consolidate Wires
Wires should be consolidated into as few penetrations as possible and routed through a plastic pipe that can easily be sealed (shown below). Allow space for future wiring changes to prevent the creation of future wall penetrations.
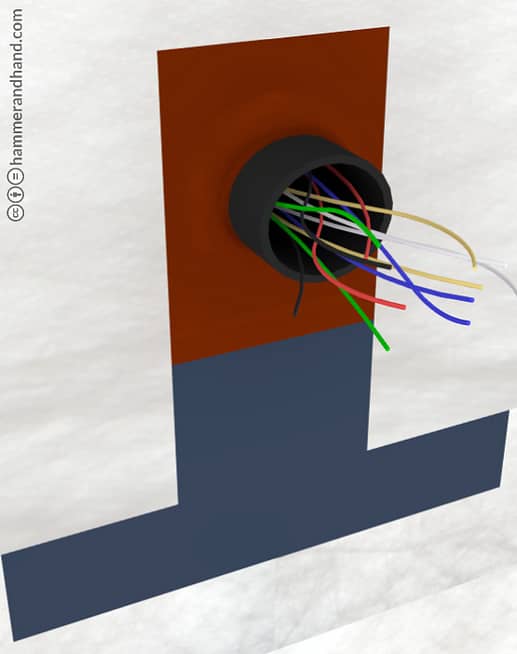
Note:
One of the best methods for sealing around wires inside pipes and conduits is to utilize a non-hardening duct seal electrical putty. This is especially critical at the electrical panel where the main conduit enters the building.
Duct Flashing with a Rain Screen

- Cut hole for duct as tight as possible.
- Space between duct and wall sheathing to be 1/4” or less.
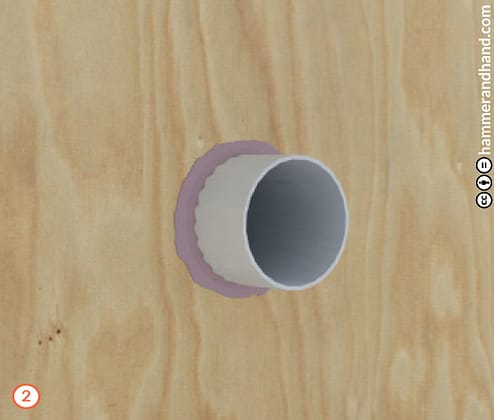
- Apply Joint & Seam Filler.
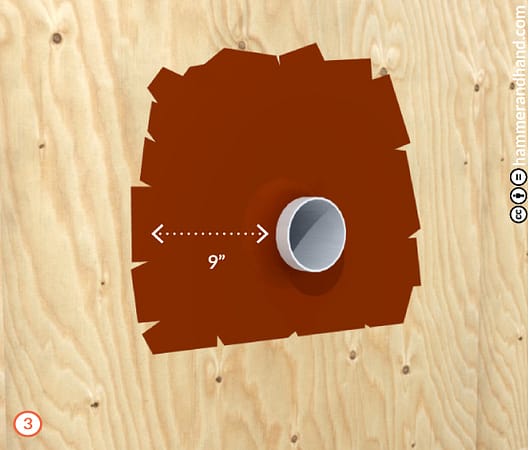
- Apply FastFlash to a distance of 9” from outer edge of pipe and 2” up the sides.
- Only extend downward slightly so FastFlash does not adhere to the back side of the transition strip.
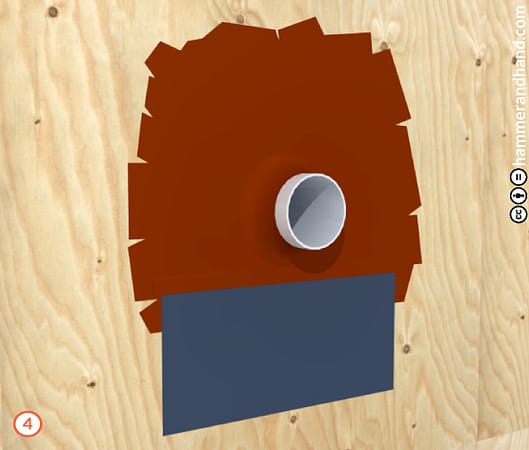
- Stick top edge of transition strip membrane to FastFlash.
- Bead and tool FastFlash to the top edge of transition strip.
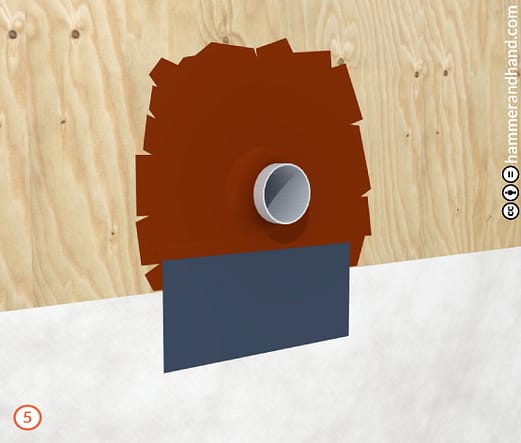
- Slip WRB under transition strip for correct lapping.
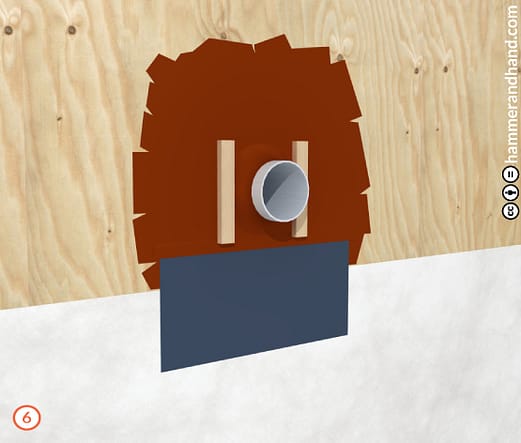
- Attach furring for rain screen.
- Include strips for vent hood blocking.

- Secure vent hood trim block.

- Install metal flashing at top of block.
- Apply fluid flashing at top of flashing back leg.
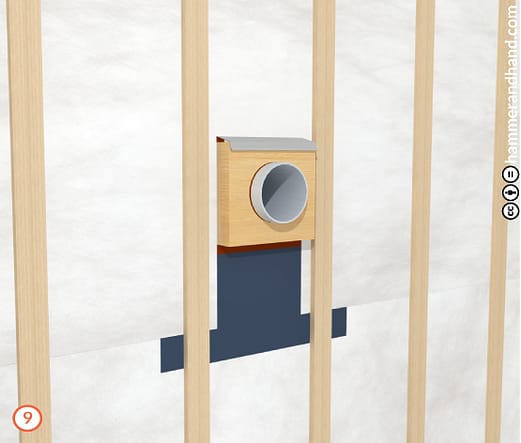
- Attach flashing to vent hood blocking strips.
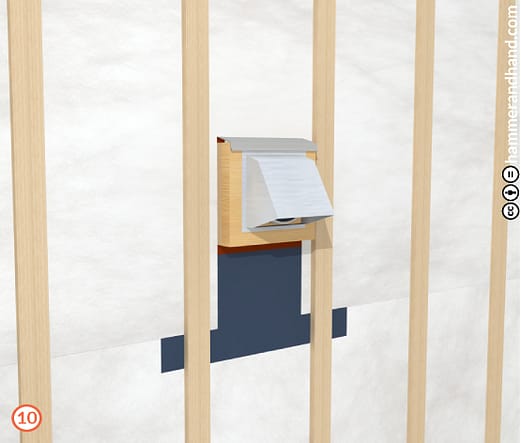
- Attach vent hood.
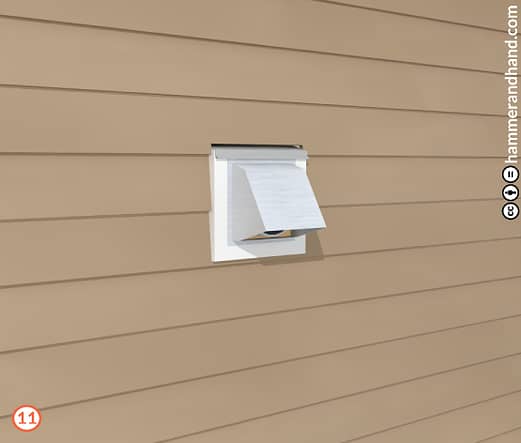
- Complete rain screen by adding siding and caulking the sides of the duct blocking, not the top or bottom.
Duct Flashing, No Rain Screen
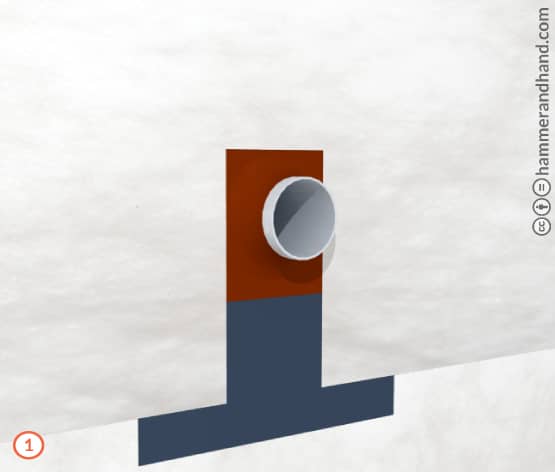
- Complete up to Step 5 from Duct Flashing with a Rain Screen.
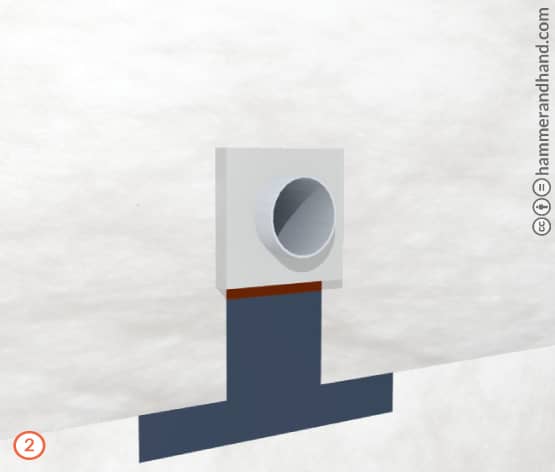
- Secure vent hood trim block.
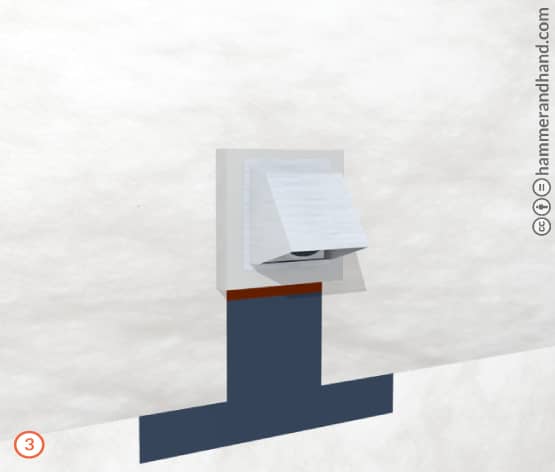
- Attach vent hood.
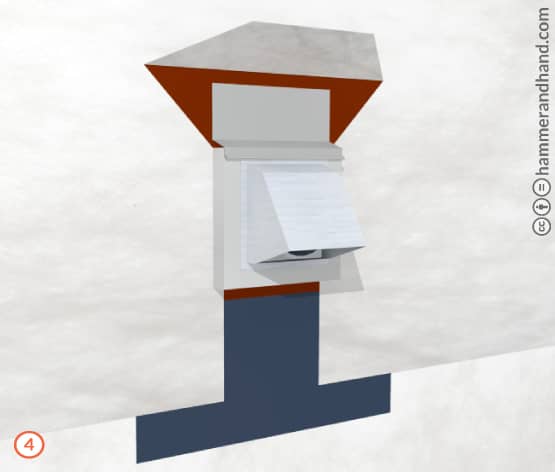
- Carefully cut back WRB to attach flashing for trim block.
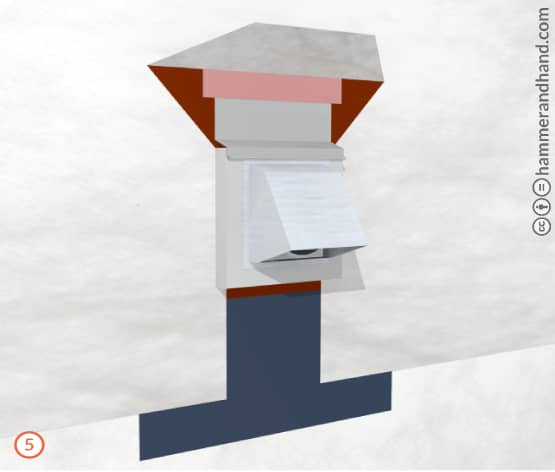
- Apply Joint & Seam Filler at the top of the flashing and tool into place.
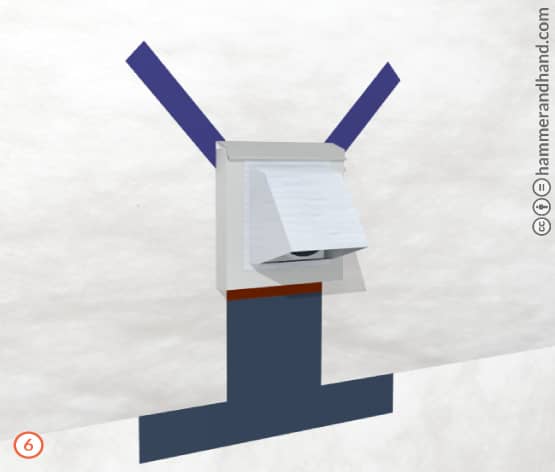
- Fold down WRB flap and tape slits closed.
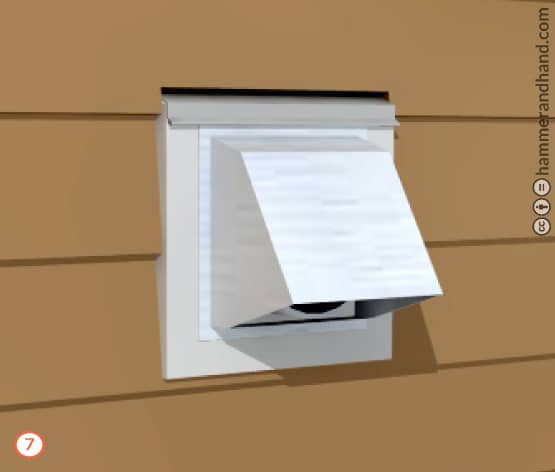
- Complete rain screen by adding siding and caulking the sides of the duct blocking, not the top or bottom.

