- Existing conditions to be retrofitted.

- Carefully remove existing trim and try to salvage for use after new window is installed.
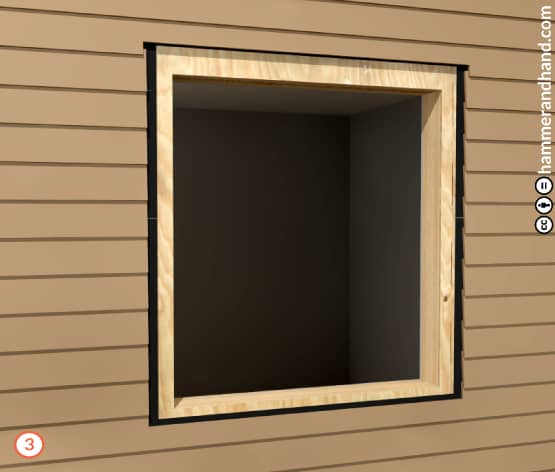
- Remove existing window.
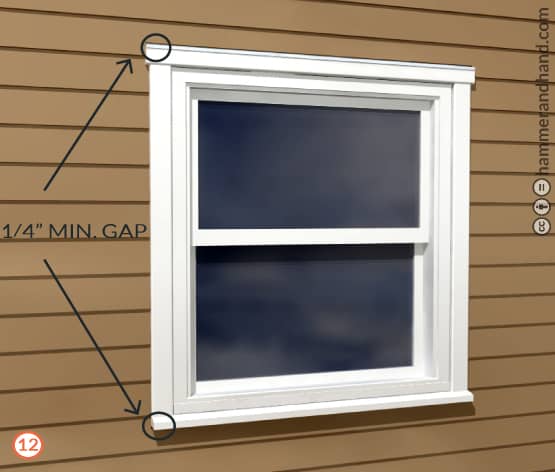
- Adjust framing as necessary to make opening square and allow for 1/2” of space around window frame.
- If adding a sloped sill, be sure to account for the height of the sloped sill in addition to the 1/2” of space on each side of the window casing.
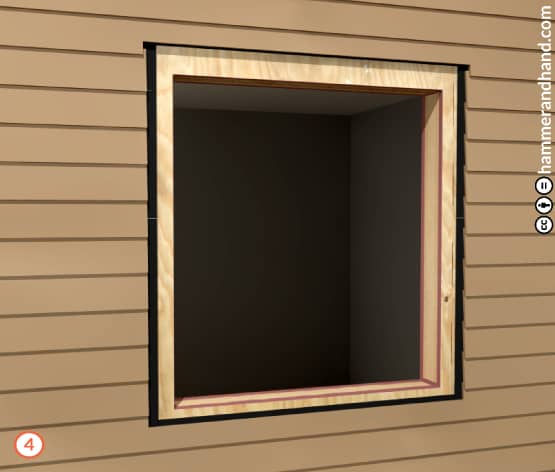
- Apply Joint & Seam Filler to corners, intersections, and edges of opening.
- Tool into place.

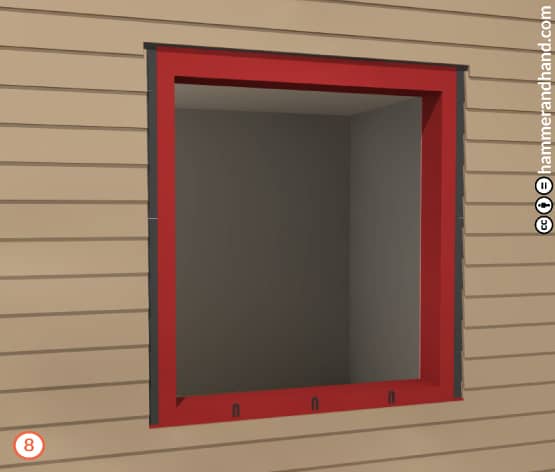
- Apply FastFlash around inside of opening and extend out as far as possible from opening on face of sheathing.

- Lift up any existing building paper and continue FastFlash out as far as possible.
- When possible, bring FastFlash out over the top of siding for continuous lapping (shown with window installed).
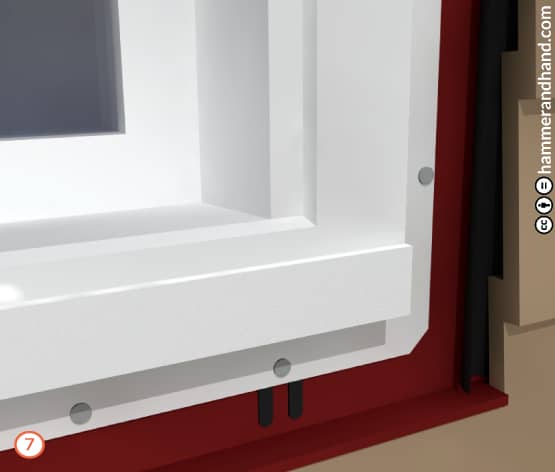
- Use shims to leave a space between the bottom flange and building frame to allow drainage in case of window failure.
- 1/16” to 1/8” horseshoe shims are recommended.

- Install window in RO and fasten per manufacturer specifications.

- Bead and tool Joint & Seam Filler along top window flange to prevent water intrusion.
- Optional (pictured): Apply Joint & Seam Filler to jambs as well, but NEVER to sill.
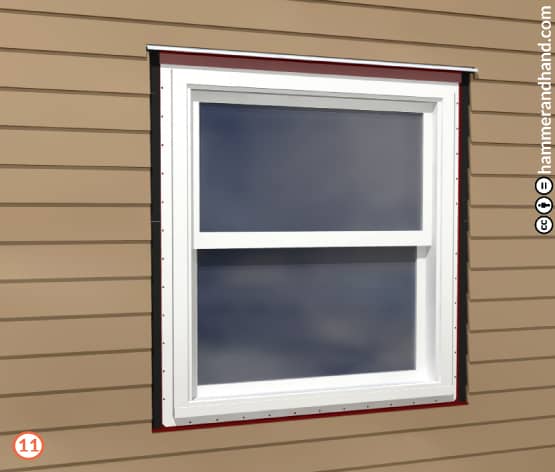
- Install head flashing to protect the trim.
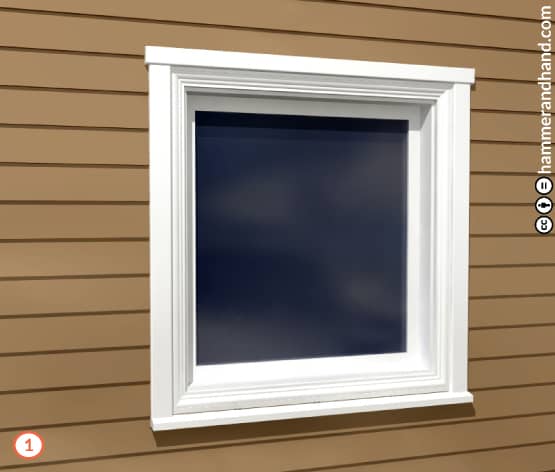
- Complete the window retrofit by fitting trim and caulking around edges where the trim meets the siding on the sides, but NEVER the bottom.
- Kerf bottom of sill trim with a 3/16” drip edge.